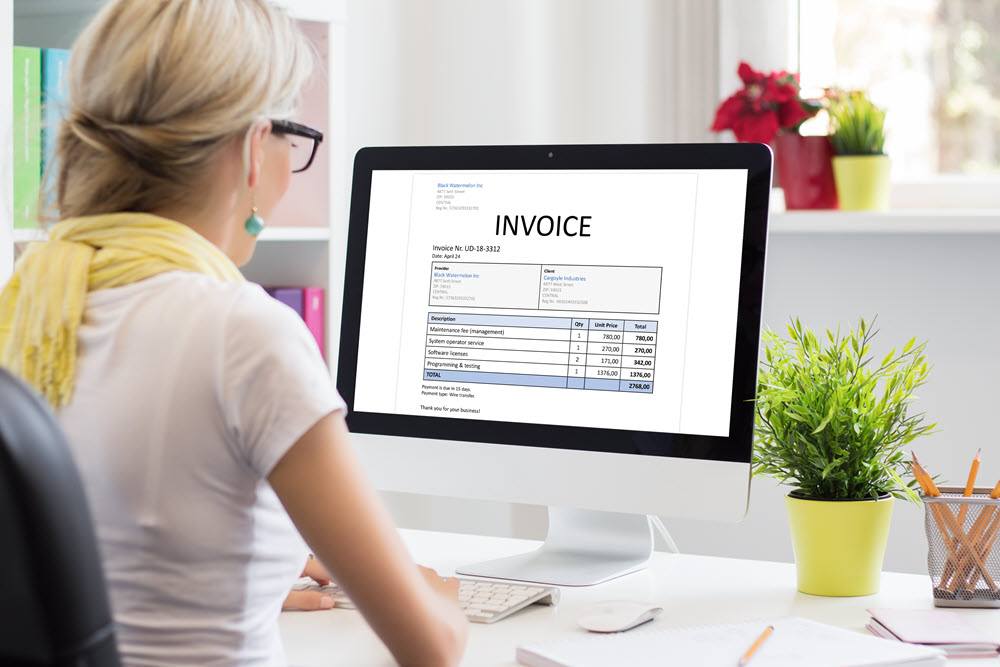
Whether you own a small or a large business, you’re going to need a form to help you in your day-to-day transactions with your customers. This document is called an invoice.
An invoice is a time-stamped billing form usually given to the customer when collecting payments. It may also serve as a legal document since it clearly states the name of your business, your clients, the products purchased, and the terms of payment.
Furthermore, an invoice may help you maintain legal records of sale, allowing easy tracking of the purchase details, such as the product and the buyer. It can also protect you from fraudulent lawsuits since it will serve as an official receipt of transactions. On top of that, it ensures that your company is paying its due taxes.
With all that, you must have realized how essential an invoice is, and you might be planning to create one. Fortunately, creating an invoice template is quick and easy, and in this article, you’ll learn how to make an Excel invoice template, which you can easily edit, print as hard copies, or send through email.

Here are the simple steps of creating an invoice template:
- Open The Excel Application
To start creating an excel invoice template, the first thing you need to do is open Microsoft Excel on your PC. However, if you’re making an invoice with a Mac computer, you will need to click ‘File’ from the menu bar and ‘New’ from Template. After that, a collection of invoice templates will show up in which you can choose what you want.
The following steps will be the same for both Windows and Mac computers.
- Search A Template
A wide range of invoice templates is available in the Excel application. You may see different invoices based on various businesses, such as shipping, credit notes, pro forma, commercial, etc. With a great number of templates, you can choose one to edit and customize, depending on your business. You may search ‘invoice’ to help you narrow down your options and only show more important ones. But first, make sure that your PC is connected to the internet to continue your search.
- Choose Your Preferred Template
After carefully searching through several invoice templates, you probably have one perfect for your business. The template you chose would be blank and contain general information, such as business name, the term ‘invoice’ on top, and others. Once you’re done choosing the right invoice template, you may download it.
- Open The Template
Now that you have downloaded the selected Excel invoice template that fits your business, the next step you need to do is open the template. First, look for the preview of the chosen template. Then, click the ‘Create’ button to launch the blank invoice template. After clicking the ‘Create’ button, a new window will show up.
- Edit The Template To Customize Your Invoice
Once the window with a blank invoice is open, you may start customizing your company invoice. In addition, make sure to include the essential details in the Excel invoice template. This is to ensure that the customer will pay their bills on time.
With that said, your personalized invoice should contain the following:
- A clear business name and logo on top
- Contact details, such as company address, phone number, and email address
- Client’s information and contact details
- Date when the invoice was produced
- List of products and services described in a detailed manner, including their price
- Subtotal costs of products and services based on their quantity
- Amount to be paid by your customer in total, including other factors, such as promotional discounts, value-added tax, sales tax, good and services tax, and other charges if applicable.
- Clear and defined payment terms and conditions, including the amount you will receive per payment and the length of payment in months or years, whatever is applicable.
Another crucial thing to consider when making an invoice is ensuring that every detail is easy to understand, clear, and well-defined. A vague and confusing invoice is the leading reason why most companies often receive payments past their dues.
Just a quick fact, you can sell your unpaid invoices to a third-party factoring company. This is called invoice financing.
- Save Your Invoice
After personalizing your invoice with the necessary details mentioned above, it’s time to save your file on your PC as a spreadsheet. This will allow you to edit it when necessary. You may also save it as a PDF so other people may not be able to edit your invoice for their own purposes.
- Send Your Invoice
Now that everything’s done, you may use your new Excel invoice in every transaction you make. You may send it through email or produce hard copies and send your invoice personally through shipping couriers.
Final Thought
An invoice is one of the most important documents every company should have. You will use this to collect payments from your customers and for other purposes, such as protection from fraudulent lawsuits, payment of taxes, etc.
In addition, creating your own invoice templates using the Excel application is pretty easy, with only seven simple steps to follow. Just keep in mind to always make sure that your invoice is clear and easy to understand so your customers can process their payments at the right time.
You may also incentivize your invoice to prompt your clients to pay ahead of their due dates or on time. Or, you may give penalties to late payments to encourage them to settle their payments on or before their due dates.


